

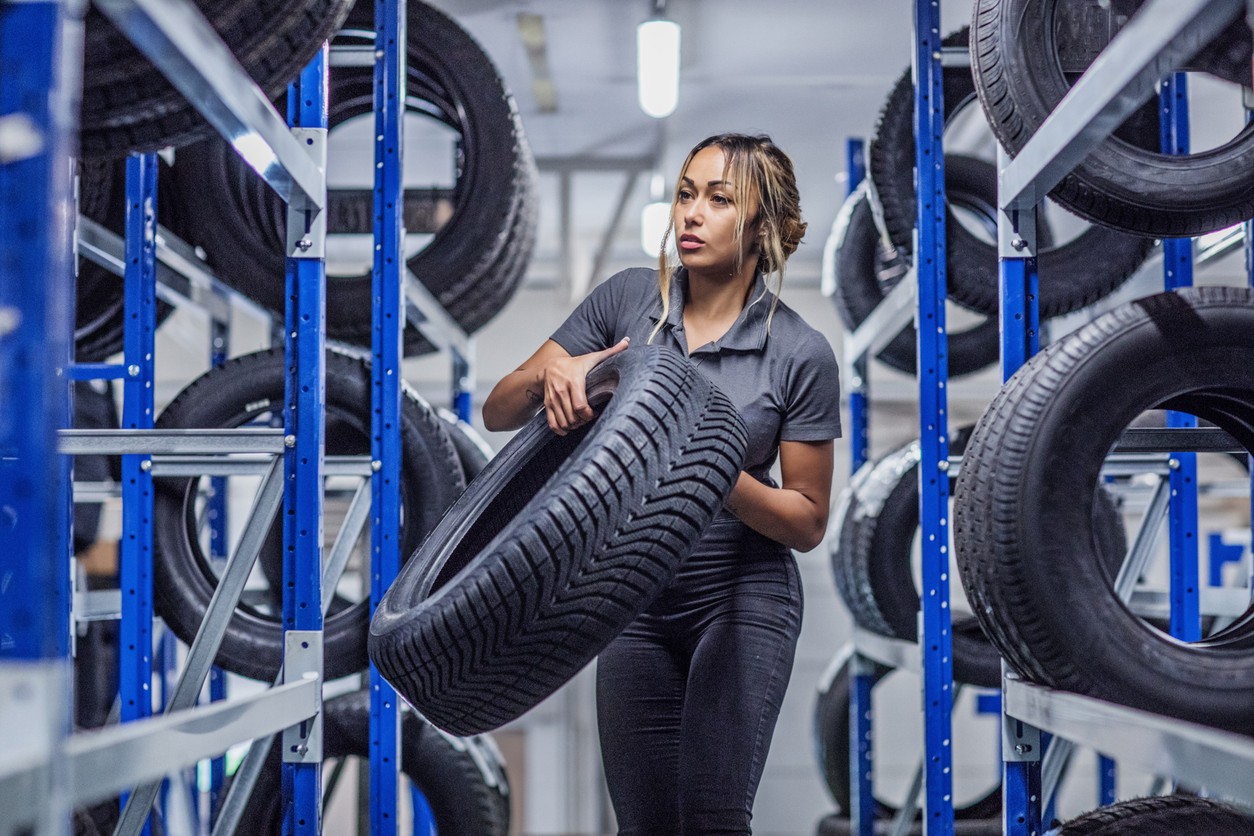
Welcome to another edition of Gearhead Guru Guide where we aim to educate and inform on just about everything you could ever want to know about cars! You’ll become an expert in all things automotive, starting with today’s entry all about Tires! Learn the different parts of a tire, the seasonal and weather related options available, three essential maintenance points to keep those tires in tip-top shape, and then some!
Fun Fact:
Most tires typically last around 50,000 miles, which is about 3 to 5 years average for the typical driver, but this does vary depending on your driving habits, where you live, and where you drive most. Drivers who frequently use unpaved roadways, go off-roading, and those who are “lead-foot drivers” may need to replace them more frequently than average. Check with your trusted mechanic or local tire specialist to assess your needs.
Let’s start by taking a look at what makes up the vehicle tire:
- Belt: The Belt is a reinforcement layer extending to the outer circumference of the carcass under the tread, and improves the stiffness of the tread area. It is made of rubber-coated layers of steel, fiberglass, rayon and other materials which provide puncture resistance, and also help the treads maintain contact with the road surface.
- Bead: The bead area supports the extremities of the carcass on each side of the tire, and is the edge of the tire that sits on the wheel itself.
- Bead Filler: This reinforcement rubber compound has a triangular cross-section, and is used to increase the stiffness of the bead and extends up into the sidewall area. It helps create a sea which holds air inside the tire.
- Bead Wire: A ring-shaped reinforcement material that is made by bundling together several high-carbon steel wires coated with red copper or bronze. It has good flexibility and high strength, which is why it provides the framework for the tire structure.
- Carcass: This is the load-bearing framework which forms the body of the tire, made of thin textile fibers bonded into rubber. It contains the inflation pressure and aids in supporting the load and absorbing impact, and helps it resist pressure.
- Inner Liner: The inner liner is a thin, air-tight layer of special rubber that keeps the air inside your tire and maintains the tire pressure, promoting good fuel economy.
- Tread: The tread, sometimes also known as a “track”, is the rubber on the circumference of a tire that contacts the road surface. Modern tires have an average tread depth of 8 to 9 millimeters (10/32nds to 11/32nds of an inch).
- Shoulder: The shoulder on each tread is designed to protect the belt and carcass of the tire, and is where the tread and sidewall of the tire meet..
- Side Wall: The sidewall is the smooth, vertical area on the tire between the tread and the bead, and provides lateral stability and support. It can be seen when you look at the tire from the side after it’s mounted on the vehicle.
- Rim: The tire wraps around the rim, which is the skeletal structure of the wheel assembly. The rim provides structure and form, allowing the tire to wrap around it and fill with air.
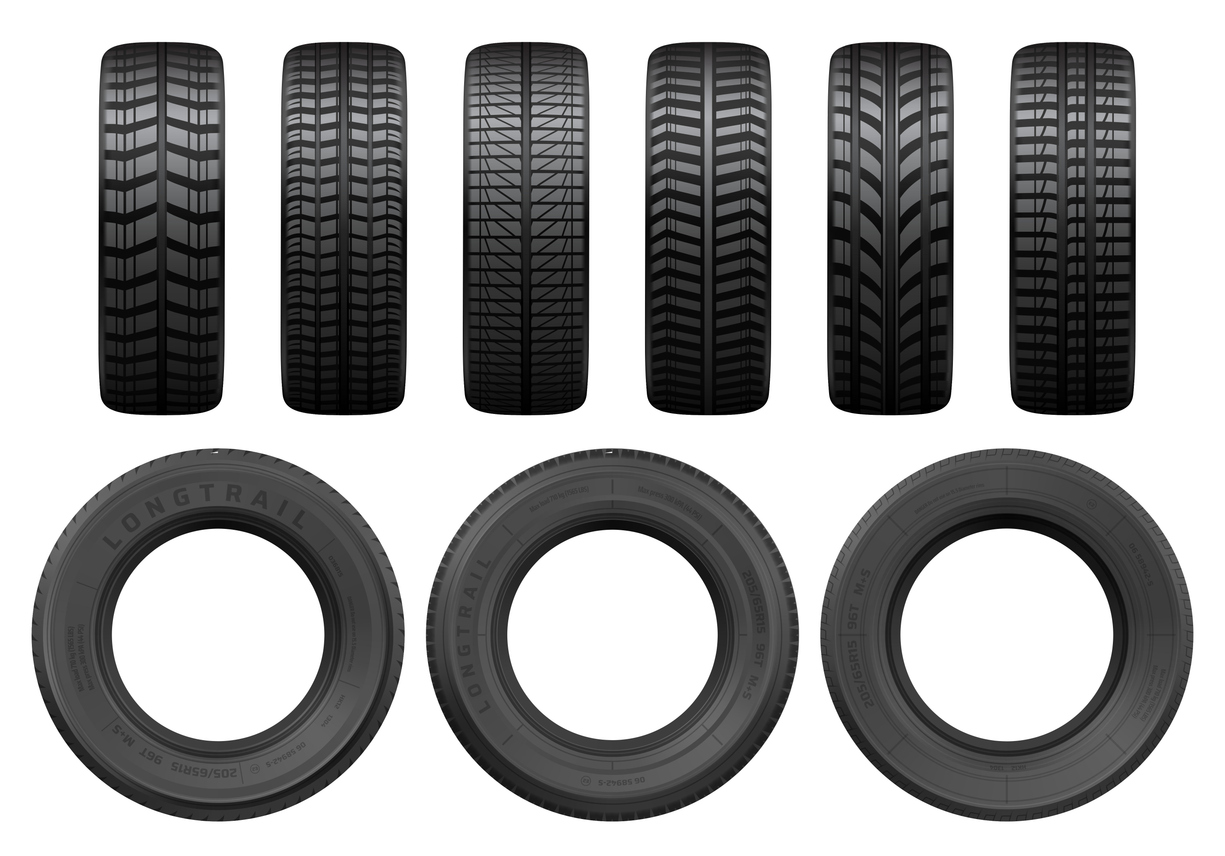
Learn the different types of tires:
Check with your mechanic or trusted tire installation technician to find the best tires that match your vehicle’s recommended size/type, your driving style and average mileage, local/seasonal weather hazards, and your budget. Here’s a little more information on the types of tires available, and things to consider when selecting the right option for your needs:
- Touring Tires – designed for day to day driving, can be used on a broad range of vehicles, available for all-season and summer-only options
- Performance Tires – designed for energetic drivers who focus on a more sporty driving style, available for all-season and summer-only options, and focus on features like dry or wet traction
- All-Terrain Tires – designed for both street and off-road driving, focusing on toughness and durability and strong off-road features for dirt/mud/ice/etc.
- Winter/Snow Tires – designed for maximum grip and traction in winter weather conditions, optimal for cold weather use and not made for warm-weather driving
- Donut or Spare Tires – designed for very short term use of no more than 50-70 miles, and are intended only for short term emergency use until you can replace your worn/damaged tire with new ones or get them repaired; these are also not designed to be driven at high speeds and it’s recommended at a max of 50 MPH or below for safety

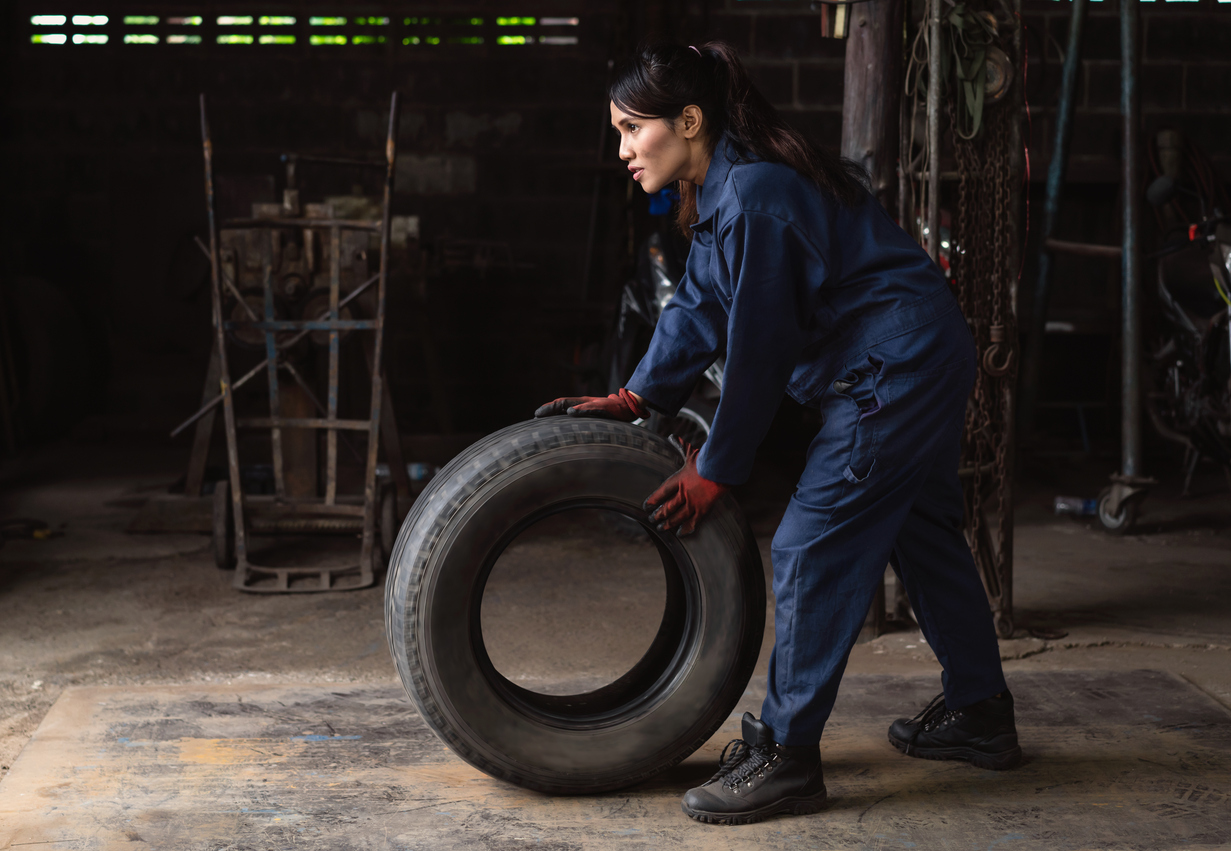
Here are some pointers to assist with changing a tire:
Make sure that you have the following tools on hand.
- A manual car jack – used for raising your vehicle higher off the ground so you can remove and swap the flat tire
- An inflated spare tire or donut – swap this in place for the broken/damaged tires
- A lug wrench or torque wrench – a special tool designed to remove the nuts attaching your vehicle wheel to the rotors
- A portable tire inflator – a mechanical device that either is hand-pumped or more recently, powered by your vehicle’s electrical outlets that can inflate the tire to pressure within minutes.
- A tire gauge – A small tool either analog or digital that can help you determine the current air pressure of your tires
When changing a tire, it’s important to pull over in a safe location as soon as you realize you have a flat. Pulling over as far as you can onto the shoulder on a straight stretch of road is your best option. If you do not have any options to pull over safely, it’s best you call for a tow; do not attempt to change your tire in the middle lane of a highway, on a curve in the road, on a hill, or if you must stand into the lane of oncoming traffic. If you’re in a safe place, you may refer to your vehicle owner’s manual for the correct steps to place the jack and change the tire on your car.
Turn the vehicle off, put it into park, and engage the parking brake. Make sure you engage your hazard lights, and we recommend also putting out additional emergency cones, triangular reflectors, or LED hazards behind you from your vehicle emergency kit for additional safety warning drivers to slow down. Remove the hubcap or any wheel covers from the wheel prior to engaging the vehicle jack. Your vehicle owner’s manual will instruct you on how best to remove any caps or loosen the lug nuts. Place the jack under your vehicle according to the owner’s manual, and raise the vehicle with the jack. Unscrew the lugnuts fully, then remove the flat tire. You’ll then mount the spare or donut on the hub, and tighten the lug nuts by hand.
Lower your car back to the ground just so the spare is resting on the road, but the car’s full weight is not yet on it entirely. Tighten the lugnuts with your wrench as much as you’re able. Lower the vehicle the rest of the way to the ground, remove the jack, check the lug nuts once more with feeling. Make sure that you check the tire pressure if it is an inflated spare, and make sure the air pressure is to proper specifications! If it’s low on air pressure, you’ll need to drive slowly to ensure that it does not also encounter a flat.
We recommend immediately driving to your local service center for a patch and repair, or a set of new tires. You should always replace your tires in pairs to ensure even wear and safe driving!
Learn about three essential tasks to perform for tire maintenance:
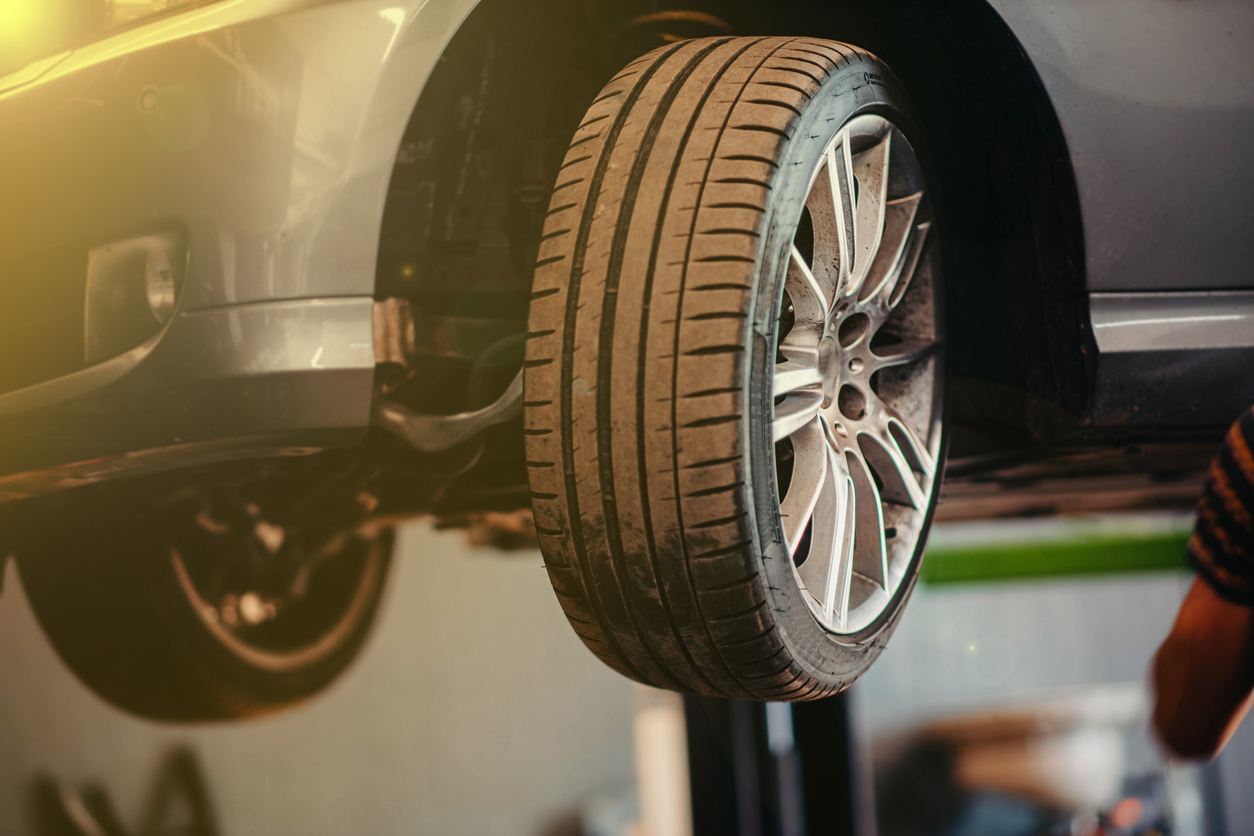
Check tire Tread Depth regularly.
Proper tire tread depth can be the difference between safely coming to a stop or skidding out. The tread depth is a vertical measurement between the top of the tread rubber and the bottom of the tire’s deepest grooves, which on average for most vehicles in the US is 10/32” or 11/32”. When vehicles reach 6/32 inch tread depth or less, it’s time to change and replace your tires. Poor tread depth increases the chances of hydroplaning and inefficient stopping power to prevent accidents. Use “The Penny Test” to determine how much tread depth is remaining. Look at the tire and assess which area that has the lowest tread depth, then place the penny head first into the tire tread. If you’re able to see all or most of the president’s head, your tire tread is at or below 4/32” and that means you’re in need of new tires!
Tire Rotation and Alignment.
To ensure even wear, and extend the lifespan of your tires, you should be receiving regular tire rotations with each oil change and service appointment. (on average it is about every 3,000 to 7,000 miles). Multiple factors including your driving style, driving habits, and road conditions all affect wear and tear on the tires. Your mechanic will also inspect the condition of your tires and let you know if they notice uneven wear and tear, as this may be an alignment issue. Your vehicle will occasionally need a realignment to ensure your tires and wheels are adjusted in the right direction to prevent excessive wear or damage. You’ll want to balance your wheels every 15,000 miles or so.
Proper Air Pressure
Your vehicle will have a sticker on the inside of your driver-side door with the posted air pressure requirements for your tires. Additionally, you will be able to locate this information in your vehicle’s owner’s manual. Performing a monthly inspection of your tires air pressure using a tire pressure gauge may help you notice leaks or wear and save you from a flat tire. It’s best to check the vehicle’s tire air pressure in the morning. NUnder-inflated tires reduce your fuel efficiency and decreases the ability to stop safely. Underinflated tires also wear unevenly and may come unseated from the wheel.
![[Facebook]](https://www.classickiaonline.com/blogs/294/wp-content/plugins/bookmarkify/facebook.png)
![[LinkedIn]](https://www.classickiaonline.com/blogs/294/wp-content/plugins/bookmarkify/linkedin.png)
![[Twitter]](https://www.classickiaonline.com/blogs/294/wp-content/plugins/bookmarkify/twitter.png)
![[Yahoo!]](https://www.classickiaonline.com/blogs/294/wp-content/plugins/bookmarkify/yahoo.png)
![[Email]](https://www.classickiaonline.com/blogs/294/wp-content/plugins/bookmarkify/email.png)
Connect with us


- Classic Kia’s Community Calendar of Events in Lake County for July 2024: Plus Bonus Fireworks Displays and 4th of July in Lake County
- Six Exilarating Off-Road Parks and Trails Across the Midwest for ATVs, Dirt Bikes, and 4WD Vehicles
- Exploring Michigan’s Mackinac Island on Lake Huron
- All About Tire Maintenance: Types of Tires, How to Change a Flat, and Tire Care Tips
- 7 Incredible Midwest Theme Parks and Amusement Parks To Visit This Summer
Recent Posts
 Warranties include 10-year/100,000-mile powertrain and 5-year/60,000-mile basic. All warranties and roadside assistance are limited. See retailer for warranty details.